DIY Mold + Casting
Project detail
In this project, I am making a silicon mold for a keychain or a general 3d shape that allows us to cast multiple plastic copies! I am making it in three steps:
- Ideate and make a 3d model for 3d printing
- Perform drafting and thickness analysis on the model, make changes and 3d print it!
- Create the silicon mold using the 3d printed model, cast the key chain!
For the final key chain, we have the following constraints:
- It must be no more than 2 cubic inches in volume
- No single dimension of more than 4 inches
- Minimum wall thickness of .060”
- It must be one continuous shape with no hollow voids
Ideation
When I started ideating for what should I make for a key chain, I knew I wanted something cute and adorable. Then I suddenly turned to Pusheen Cat which I liked a lot. I then was trying to find a image of Pusheen that I can turn to a 3D model and also add a ring somewhere to make it attachable. Then the image above is the one that made sense to me. I could add a ring on top of Pusheen's hat for chain to go through.

Original image

Import image into solidworks
Sketches
I did most of the sketches before building the 3d model to build a better idea of how I want my 3d model to look like.

Three orthogonal view

Three perspective view
Cad process
I decided to make Pusheen's body an ellipsoid, and had to define the path and slice for the lofted body to look smooth. After making the body, I created lofted body for both hands and beard while using revolved body for eyes and glasses. I chose to leave out whiskers and the tail because I feel adding them would actually make my key chain harder to fit in a pocket and more likely to break. Below are the screen shots of making the 3d model for my key chain.


Drafting and thickness analysis
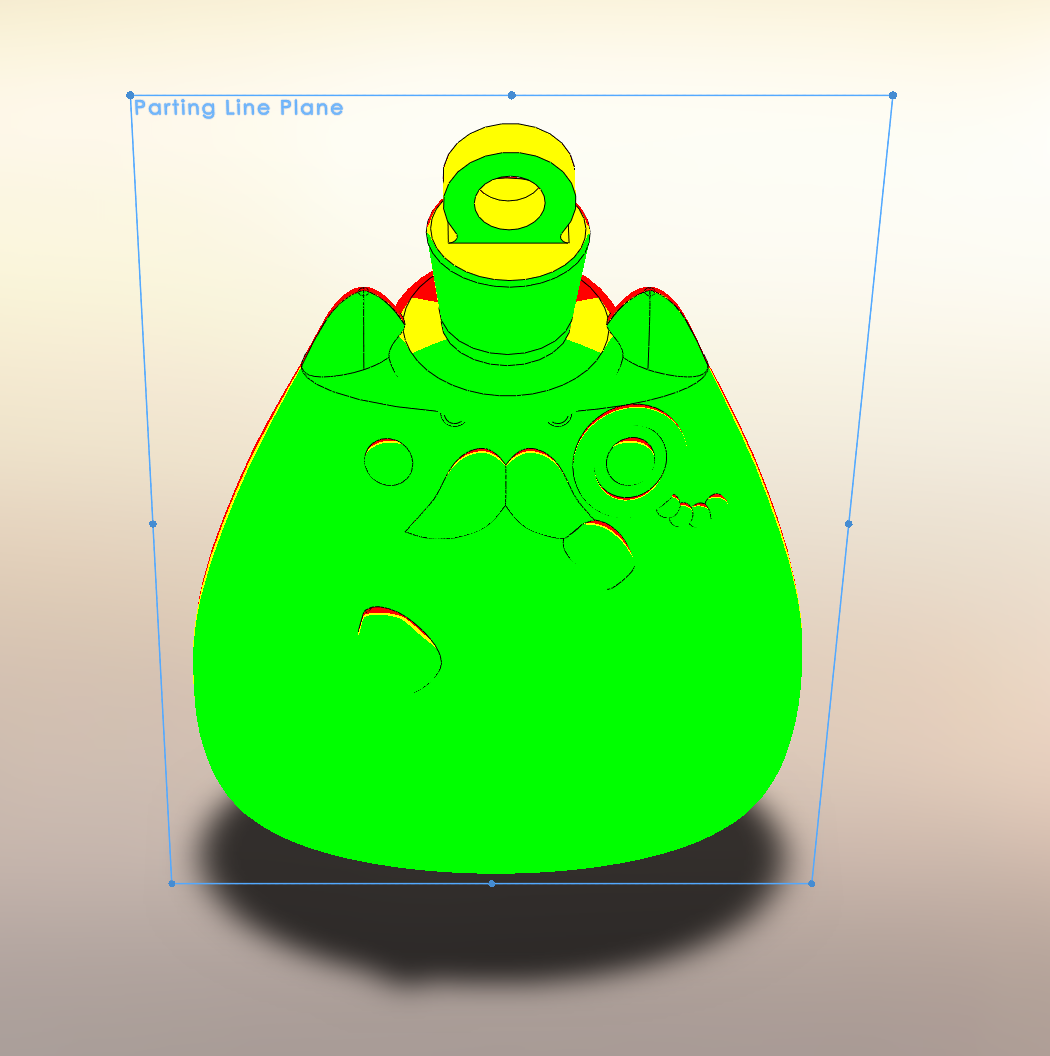
After making the model I did drafting and thickness analysis with the solidworks built in. As for thickness, my part is a solid ellipsoid with some curved protrusion on the surface so there are no thin surfaces I need to worry about as shown in the images below showing my results from thickness analysis.
In regard to drafting, I designed the entire with the idea of parting line in mind. Therefore, if you see the side view of the part, both ears, the hat and the body have the same middle plane. Therefore my parting line would naturally be the intersection between the plane and my part. Since most of the features are curved except for the hat, I made the rim part of the hat slanted for drafting purpose. As for the top of the hat, I didn't make a change since feel it's area is too small to make a difference and would like to keep my hat flat as well.


3d printing
Three views of my final design:


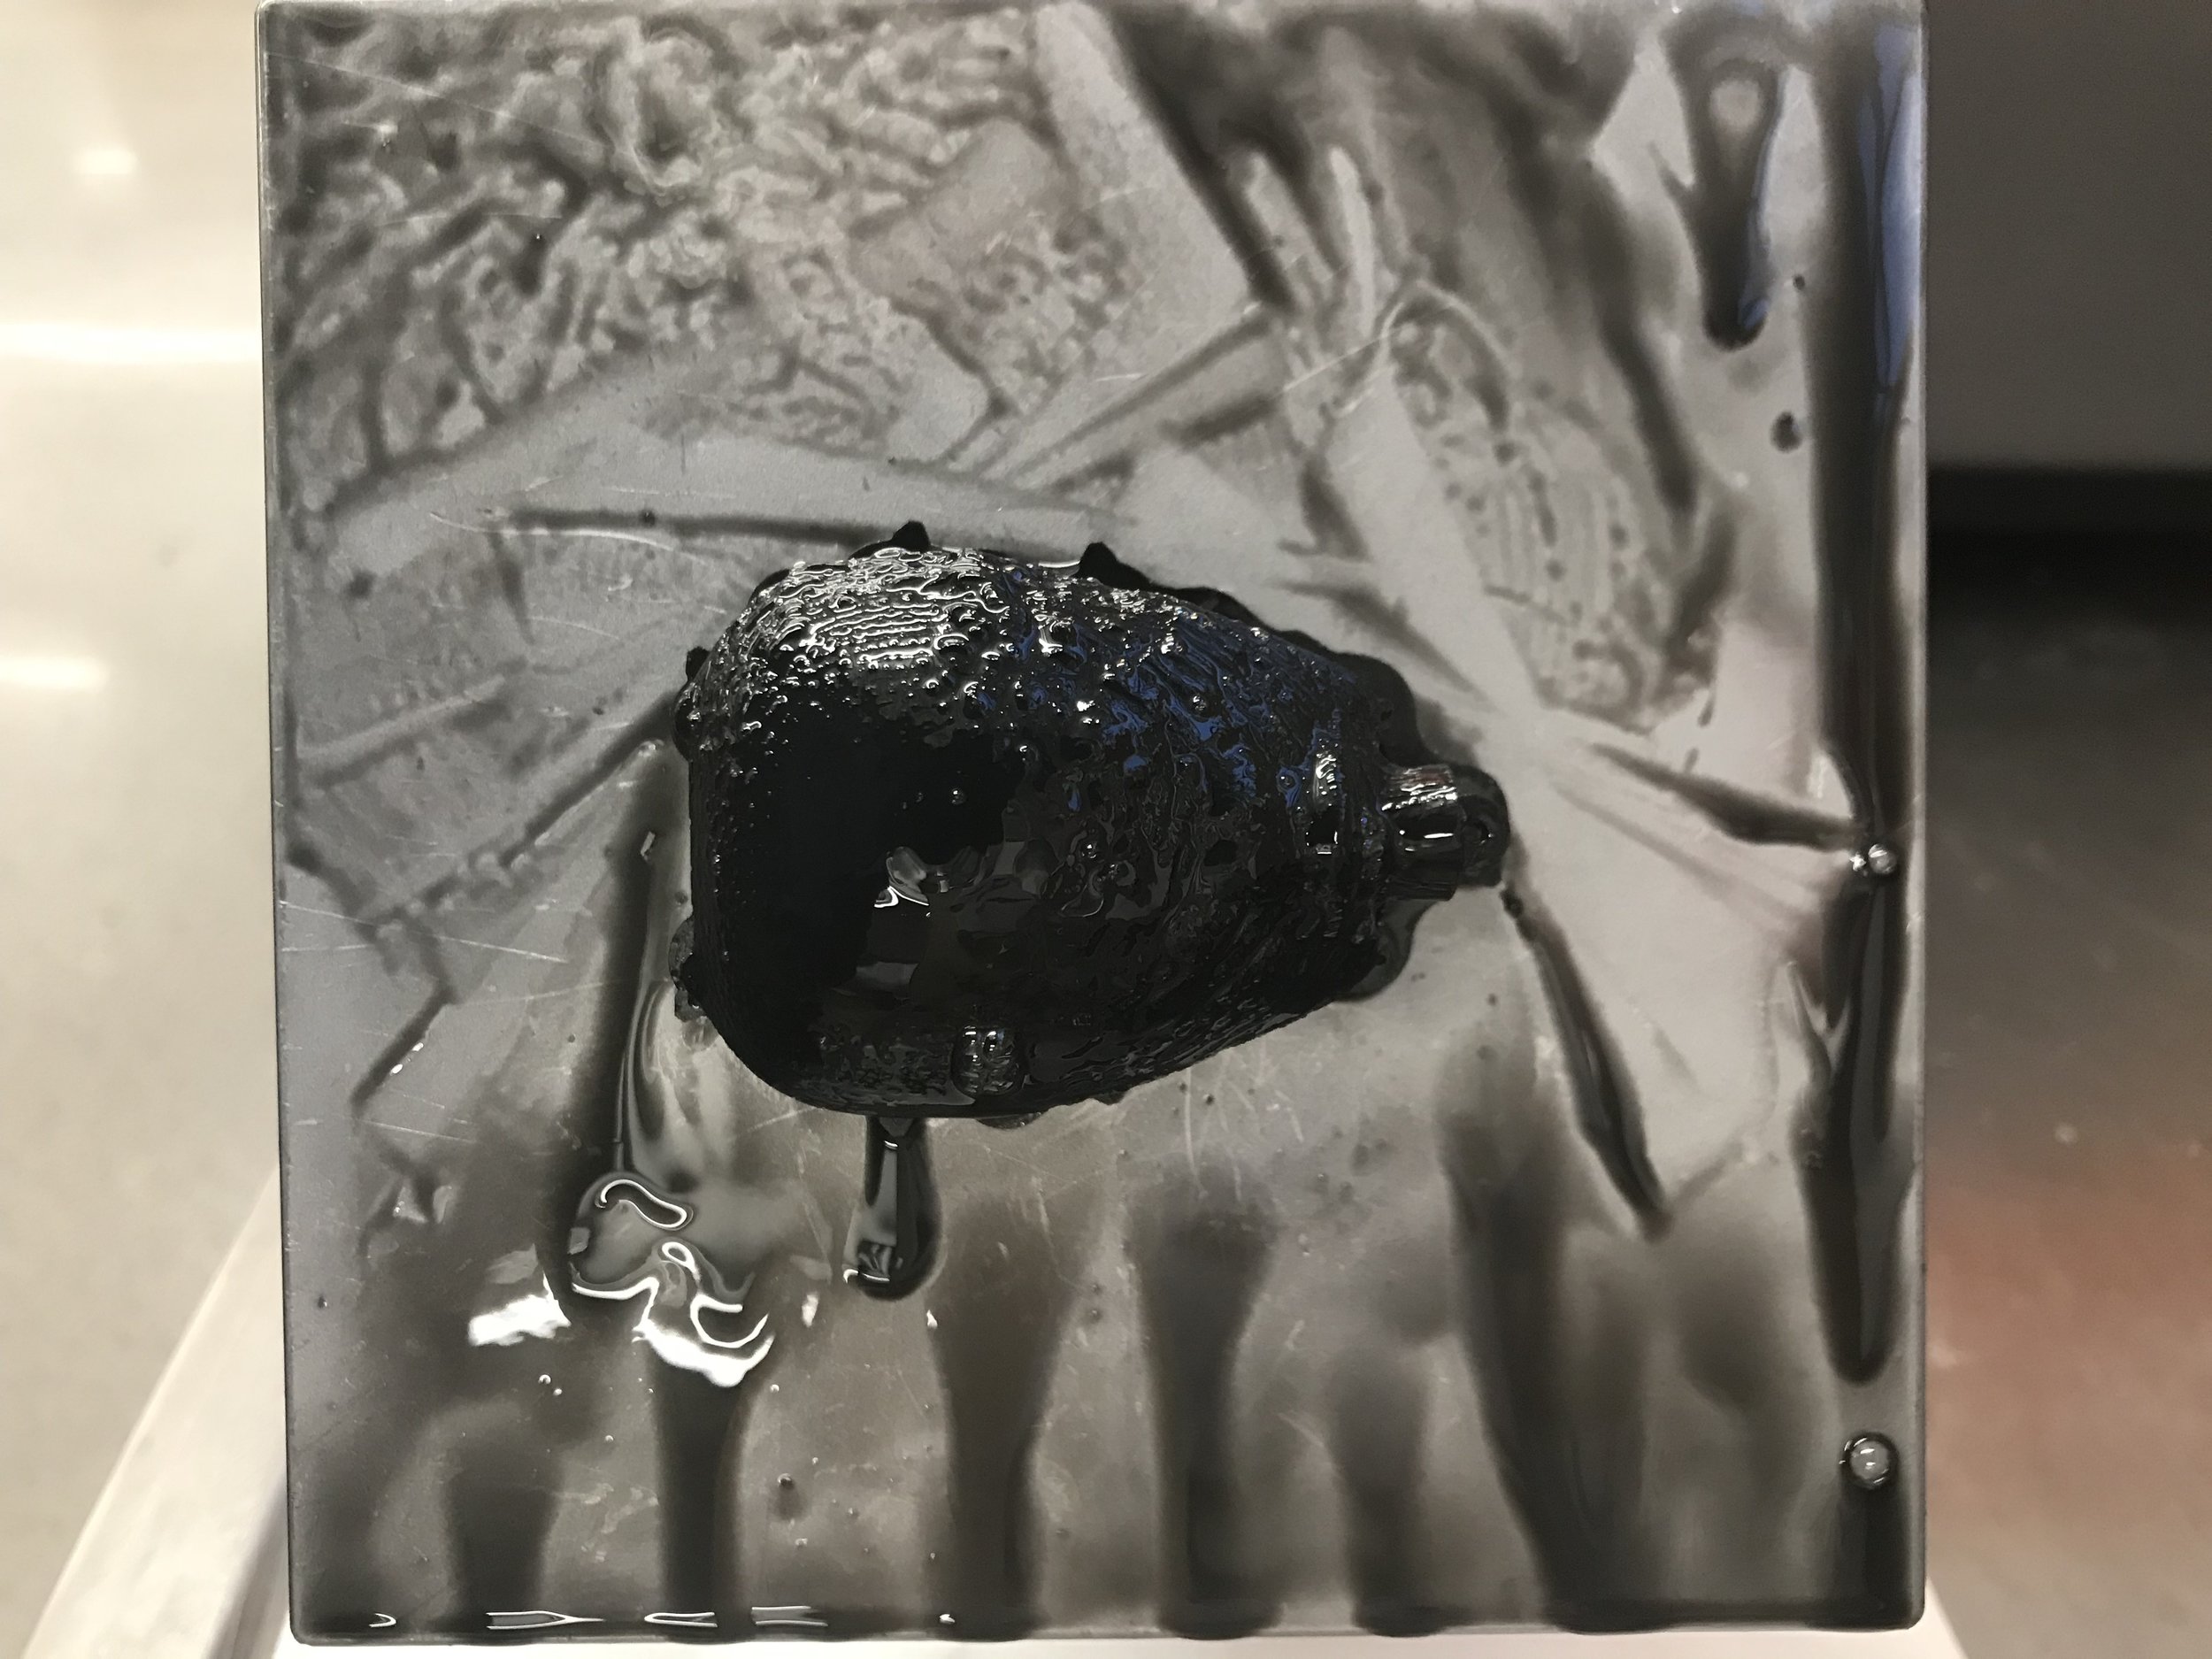
I did my 3d printing on the formlabs Form 2, a SLA printer which uses resin and laser to form layers. The first attempt with black resin wasn't super successful. I suppose it could be the property of the black resin and the fact that I rinse the part with water too much. The face contour wasn't present on the part.
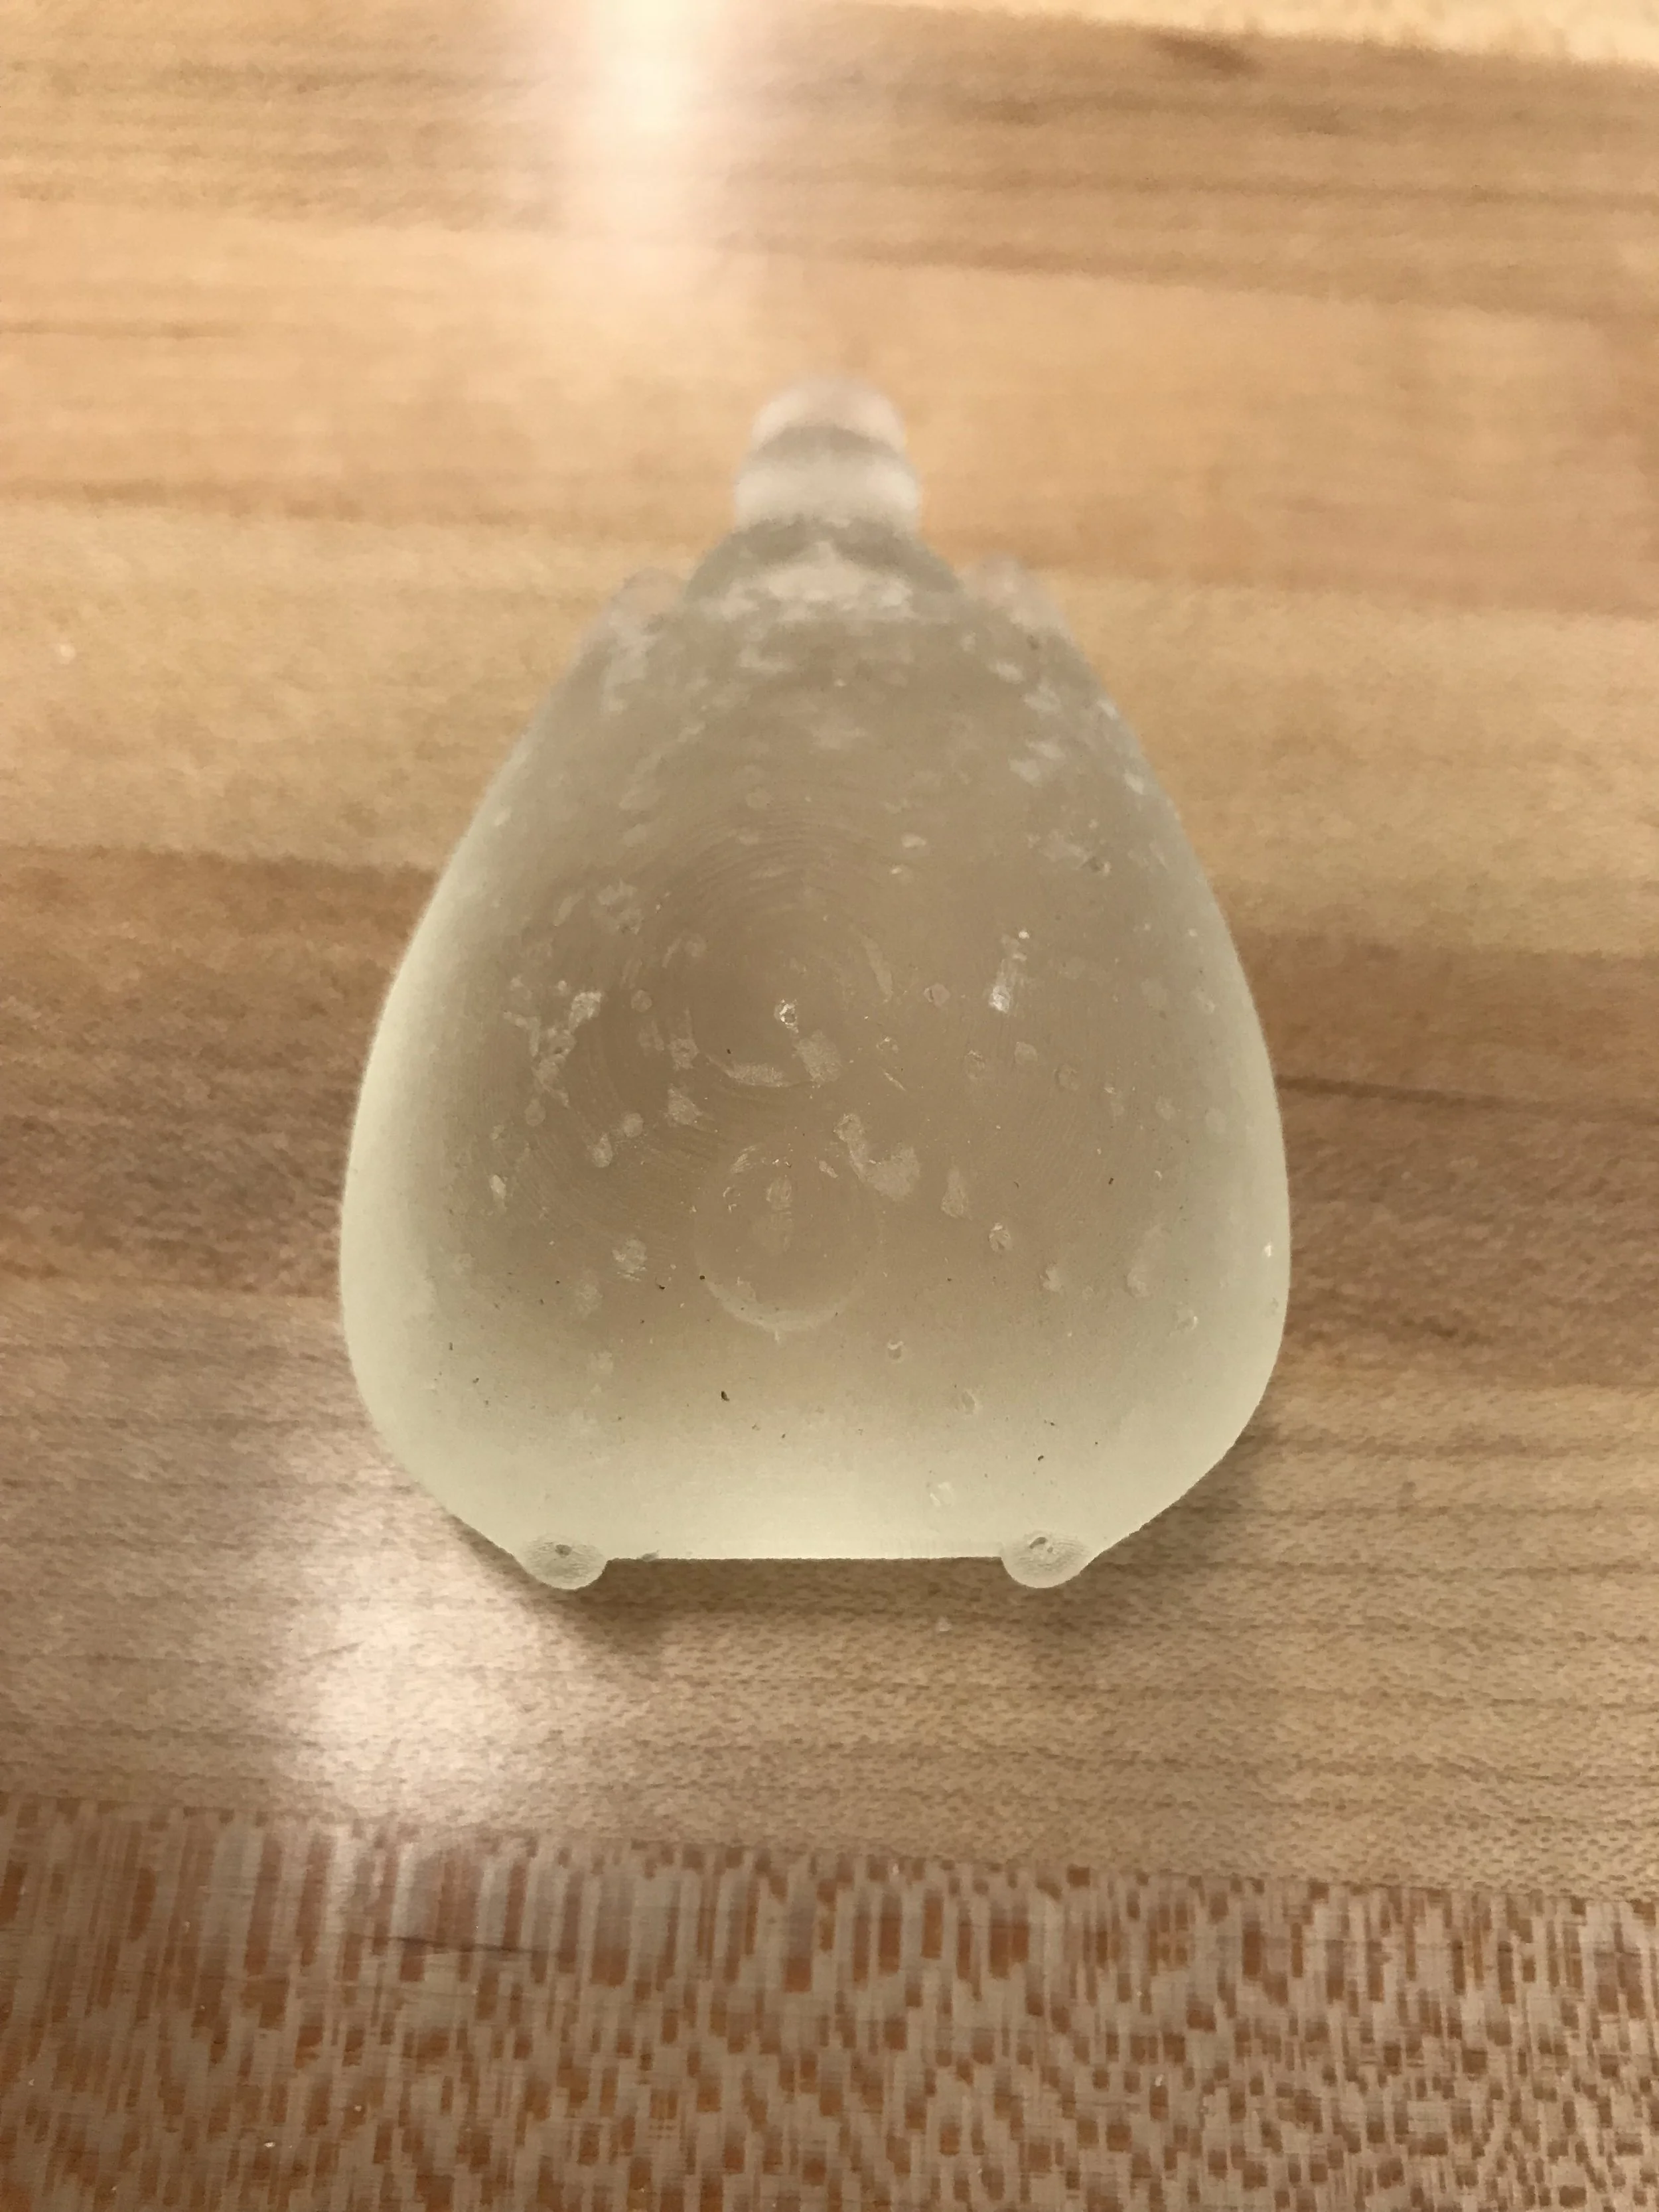
Therefore, I decided to exaggerate the contour much more not only for 3d printing but also considering the casting in the future. In the images below, you can see the comparison between the CAD model and two 3d printed model one with black resin one with clear resin.

Before

After
(Eyes, hands, glasses and ring all got bigger and more protrusion)
Printing Process
I also have images of post processing work I did with my clear resin one such as removing the supports. filing away extra supports remaining and smoothing the back side.


Molding Process
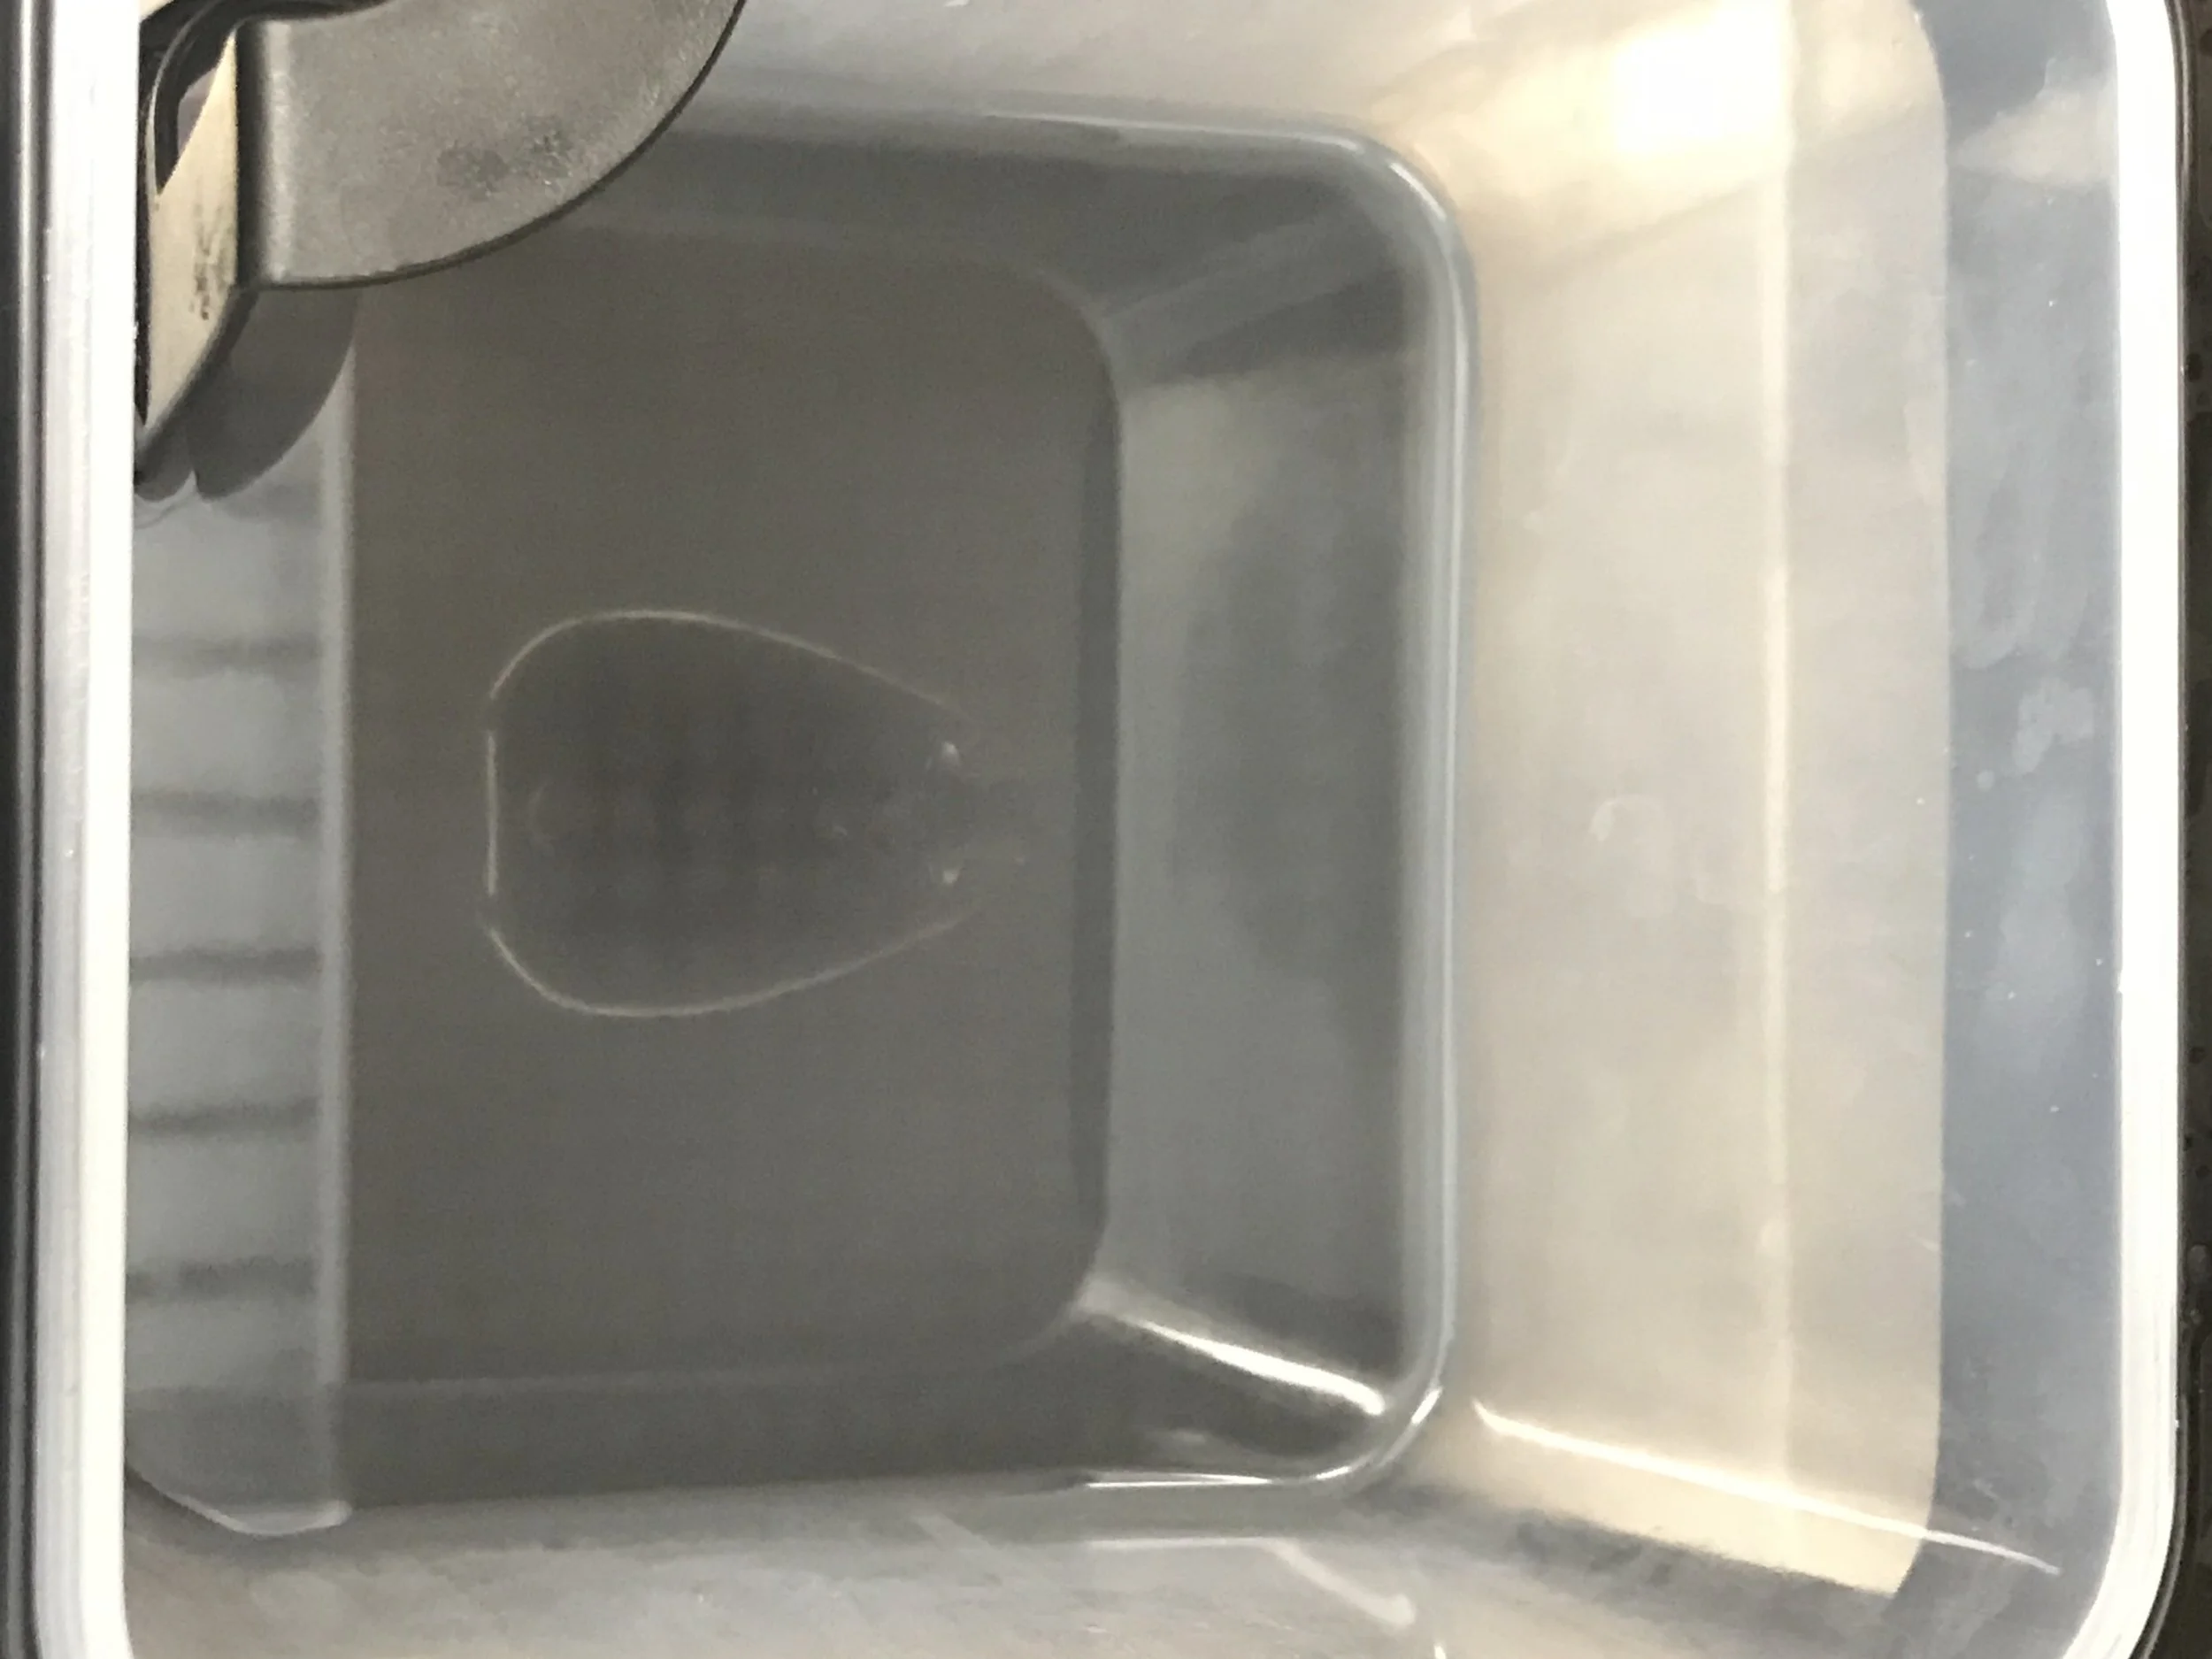
I started the molding process by forming a solid layer of clay around the 3D printed part on a piece of foam core. The clay is covering the part up to the parting line plane. I tried to fill all the gaps along the parting line and make the surface of clay as flat as possible using sculpting tools. Moreover, I glued four pieces of form cores as the wall and fill in the gaps to make sure no silicon is going to leak through the clay so it forms the first half of the mold cleanly. At last, I made some rounded indent in the clay to have more registers on it so that our two parts are going to mesh well together but also easier to take apart. After making the first half, I cleaned the clay and poured the other half with a funnel glued to the part, making space for a pouring opening. Below are images that document my process of making the mold:


Casting Process
After making the mold, I clamp the two part mold together using rubber bands and pour the plastic mixture in through the pouring opening I made while making the second half. Wait for 2 hours and it's gold! The first casting (the leftmost) wasn't successful because I didn't rotate the mold around to get rid of the big air bubbles in stuck in the mold. The second and third cast as more successful. However, they all share the same tiny air bubble marks in the front. After taking a closer look at my mold, I found out that my mold has tiny air bubble marks in it so that when the plastic is curing, they inevitably form air bubble marks. This is due to the fact that we didn't have equipment to vacuum the silicon for the mold so that the mold doesn't have the best finish for casting. The second and third cast have better surface finishes, the same tiny marks are still there and you can see them in the last two images comparing the three.